
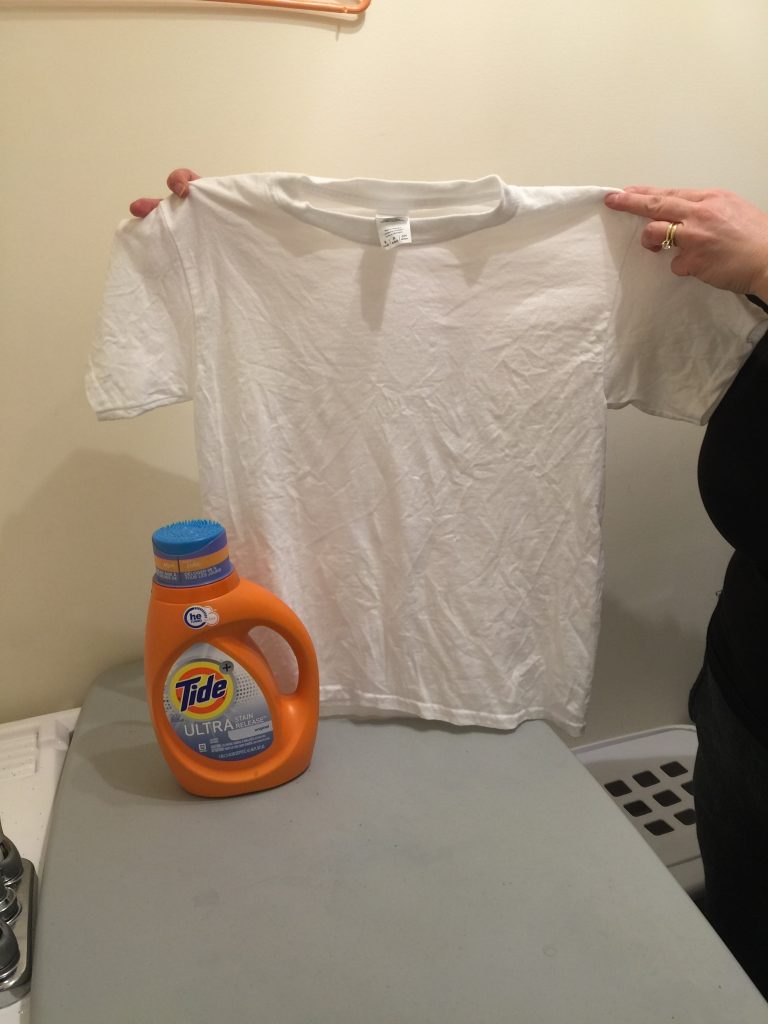
As promised last week, I decided to put Tide Ultra Stain Release to the test with tougher stains. This time it was with the help of my youngest daughter.
Disclosure: I am a P&Gmom/mamanP&G. As part of my affiliation with this group I have received products and have been compensated to put Tide to the Test. As always, the opinions on this blog are my own and can never be bought 🙂
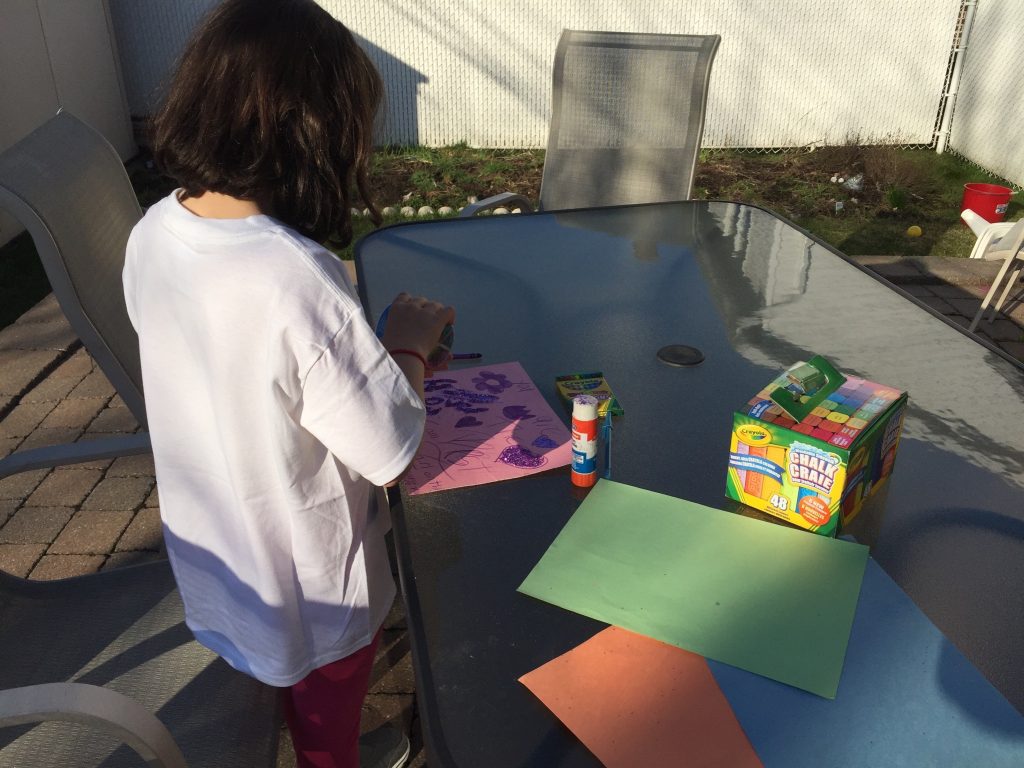
I gave her some crafting materials as well as some chalk. It was nice enough for her to do her little craft project outdoors:
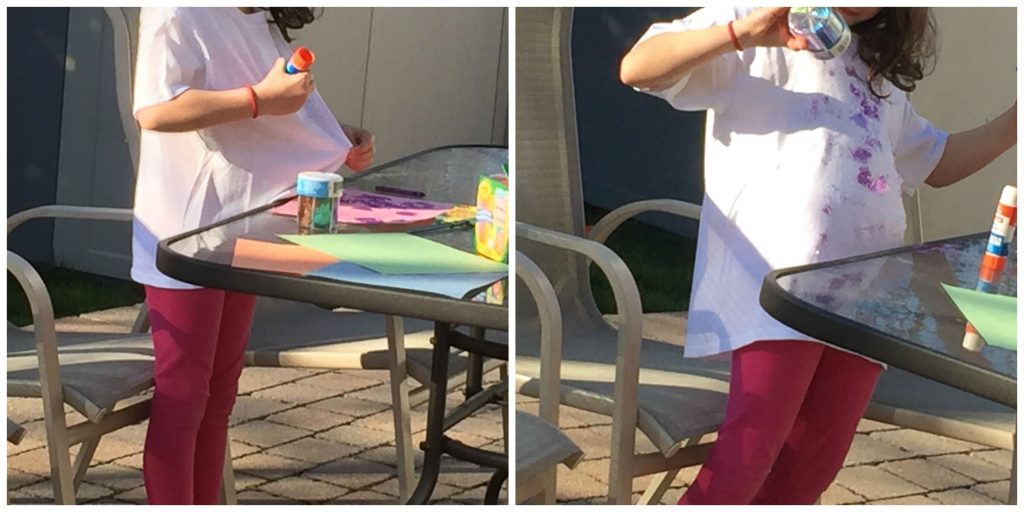
I guess she works neatly so she didn’t get dirty enough…I caught her independently doing THIS after she was done crafting:
I figured: No problem, Tide #GetsItOut.
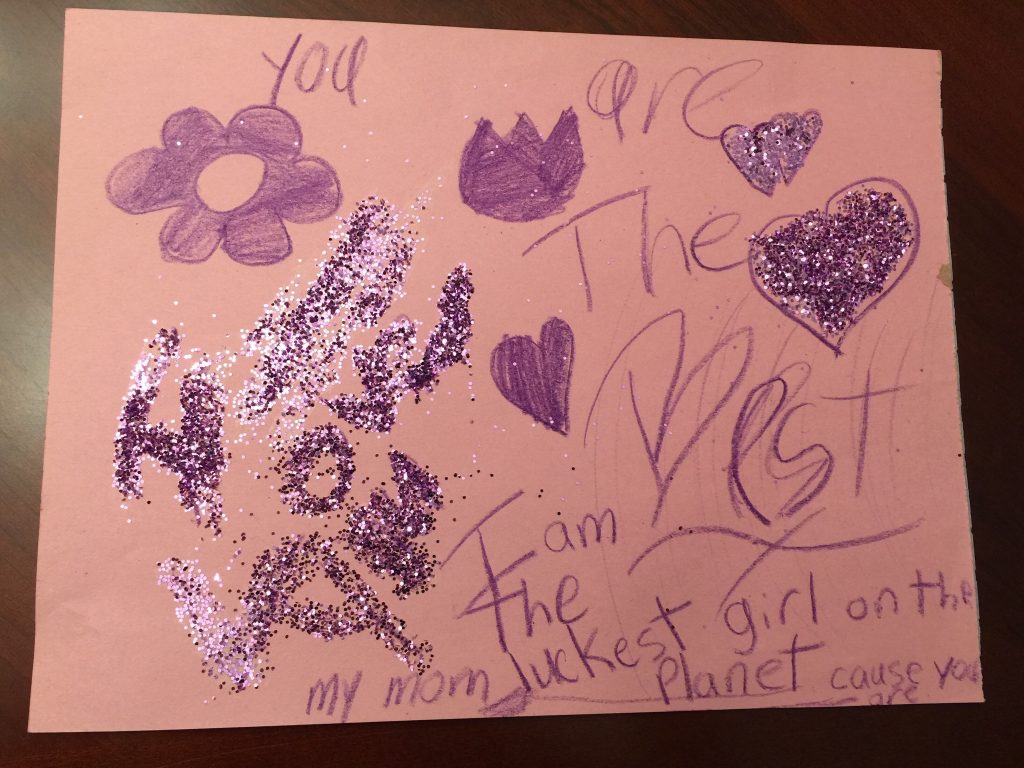
She gave me a pretty piece of artwork 🙂 <3
I then sent her to play with chalk on the driveway: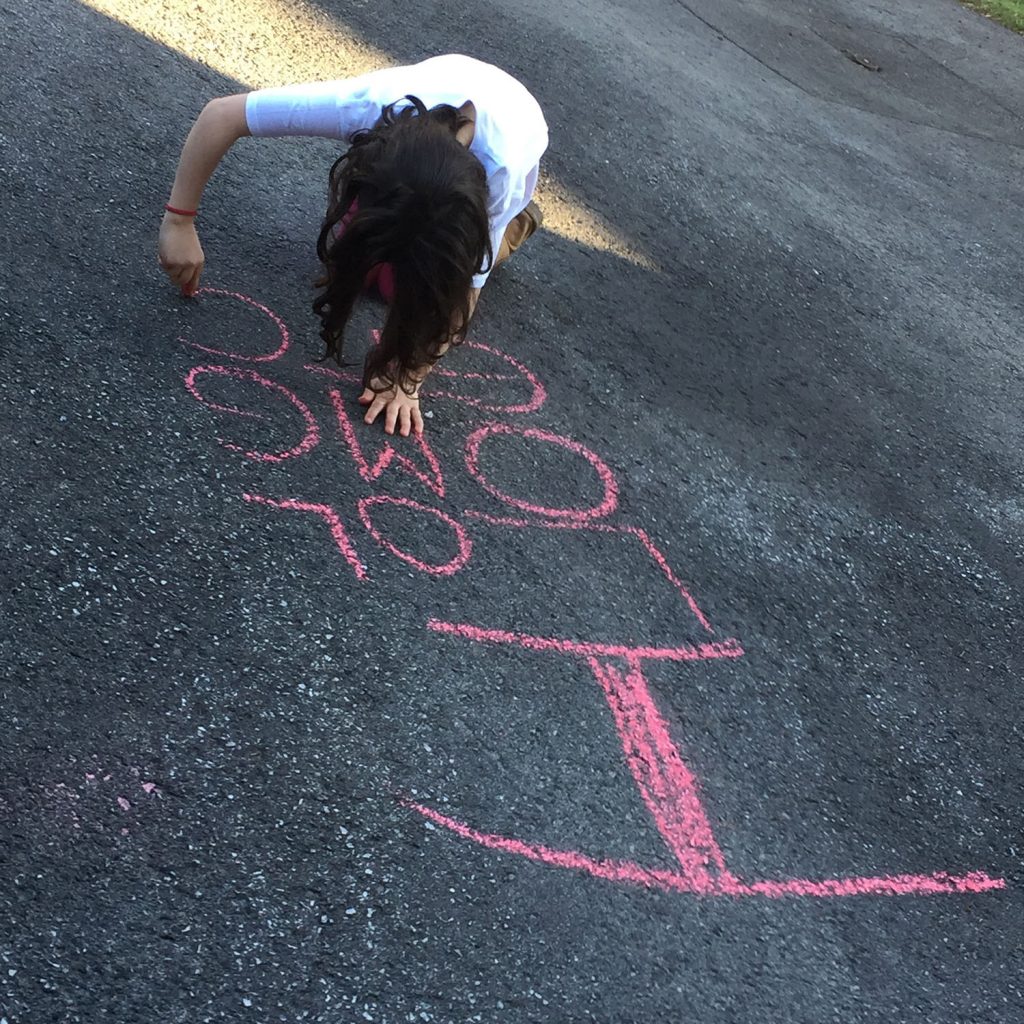
I asked for the shirt back & I got this (she clearly did some ‘extra’ work on the shirt itself:
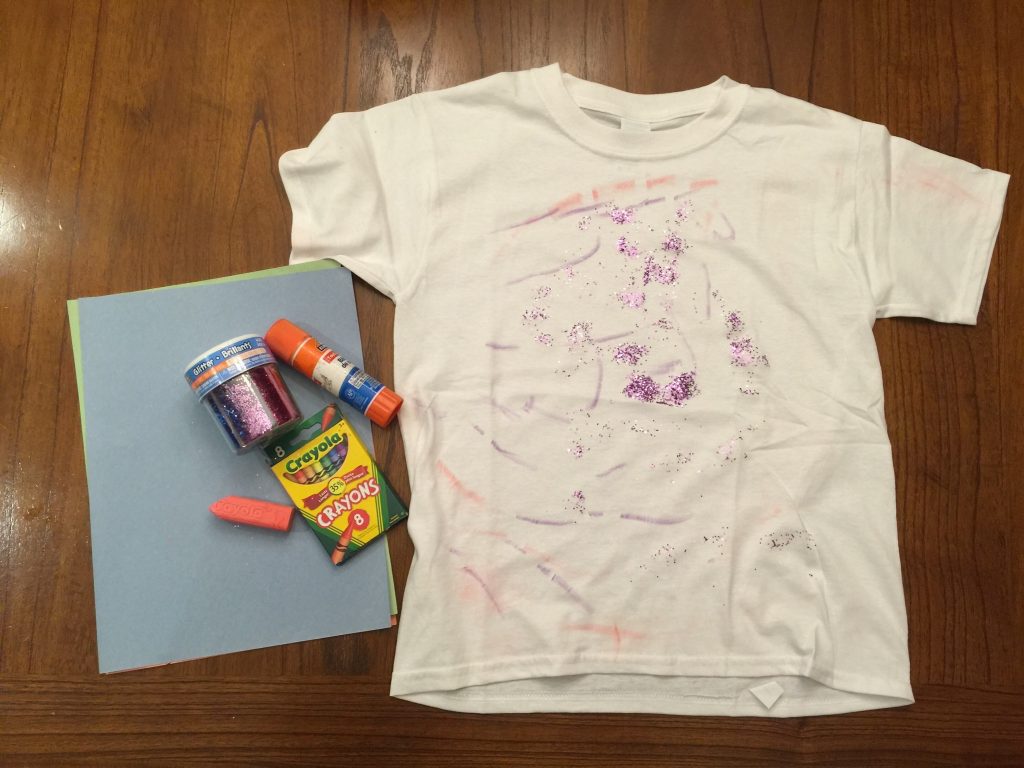
I fully admit…I was starting to have my doubts about whether the crayon & chalk would actually come out completely. I wasn’t so worried about the glitter.
I got out my stain removal instructions which started off with:
For crayon stains, follow the instructions for removal:
So…if you want to know how really nervous I was….I missed the fact that the instructions were just for crayon & I used the knife for the glitter first, LOL!
STEP 1: Remove the stain by gently scraping it with dull knife
As mentioned, I started with the glitter:
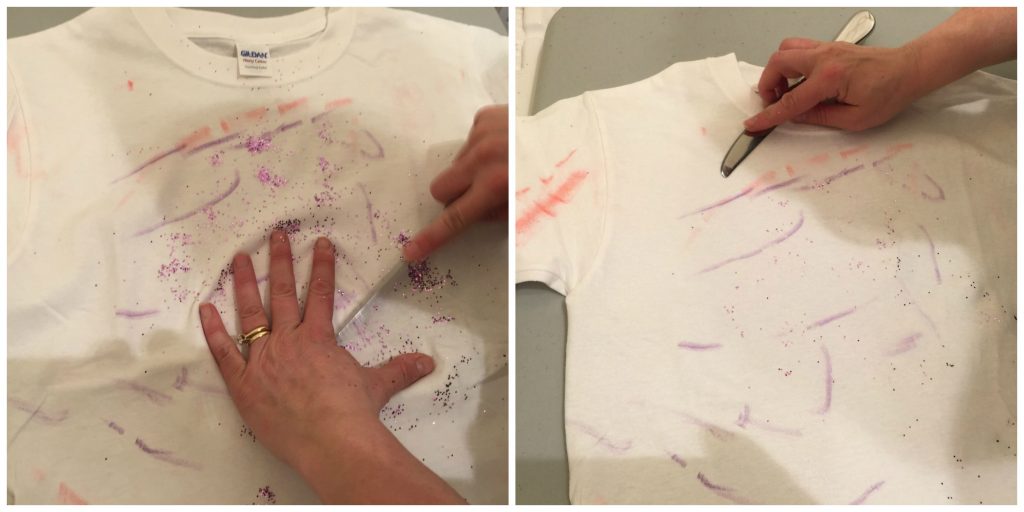
I then tried scraping the crayon (and even the chalk) but it didn’t seem to do anything.
This is when I started to get worried.
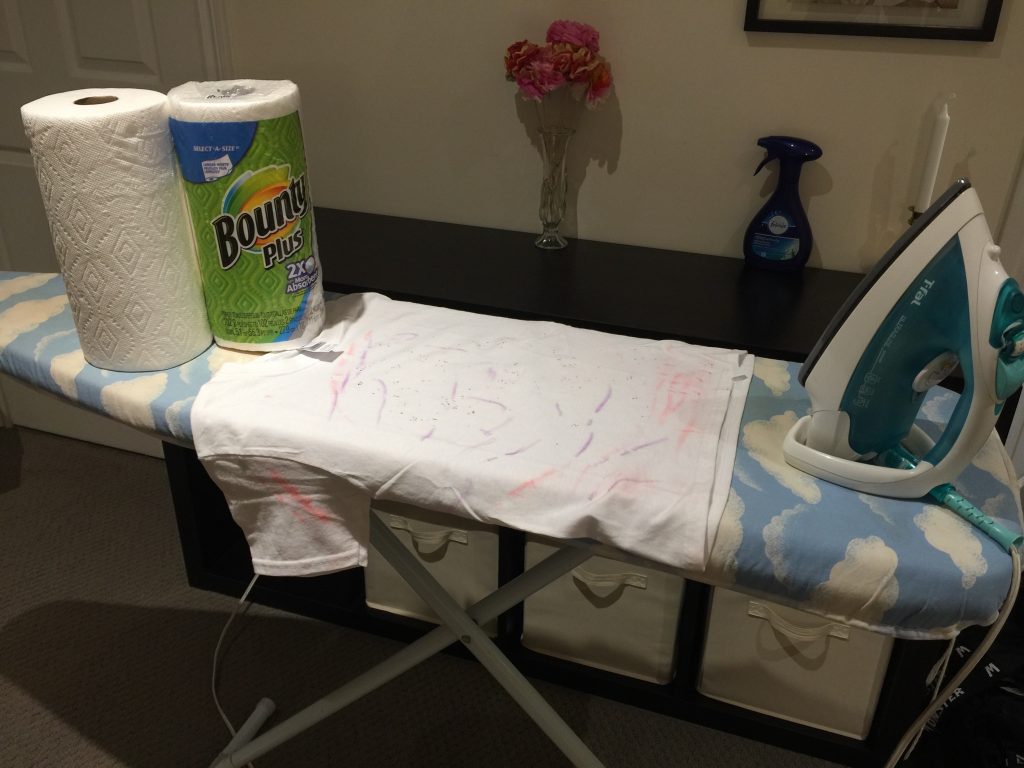
STEP 2: Place stained garment face down on white paper towel and place another on top of garment
I got out the iron & my trusted Bounty & was ready to go:
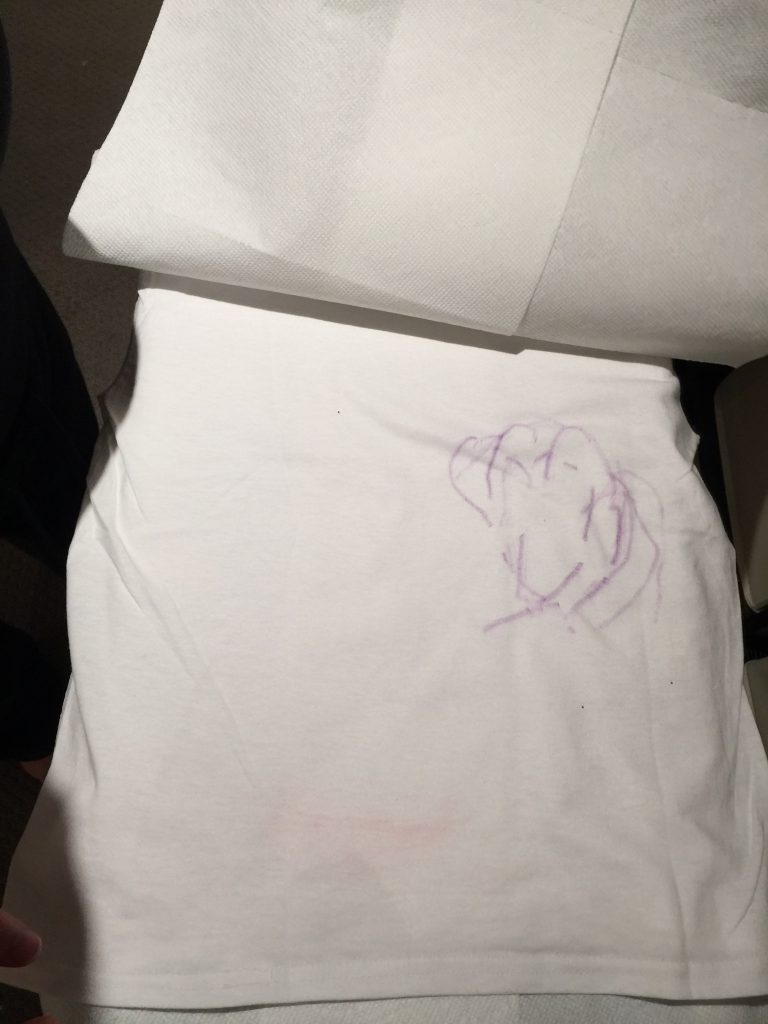
Imagine my surprise when I found this on the BACK of the shirt when I turned it over:
Oh boy…this kid did not pull any punches.
I was seriously worried because the instructions seemed to indicate there should be fabric between the paper towel & the stain, which would still be the case for the front of the shirt, but as I was working on the front of the shirt, the only thing between this ‘back stain’ and the iron would be a sheet of Bounty. The nervousness was beginning to turn into anxiety…But I had no choice I proceeded with placing the paper towels & proceeded to Step 3:
STEP 3: Press with warm (but not hot) iron, being careful to keep iron on paper towel
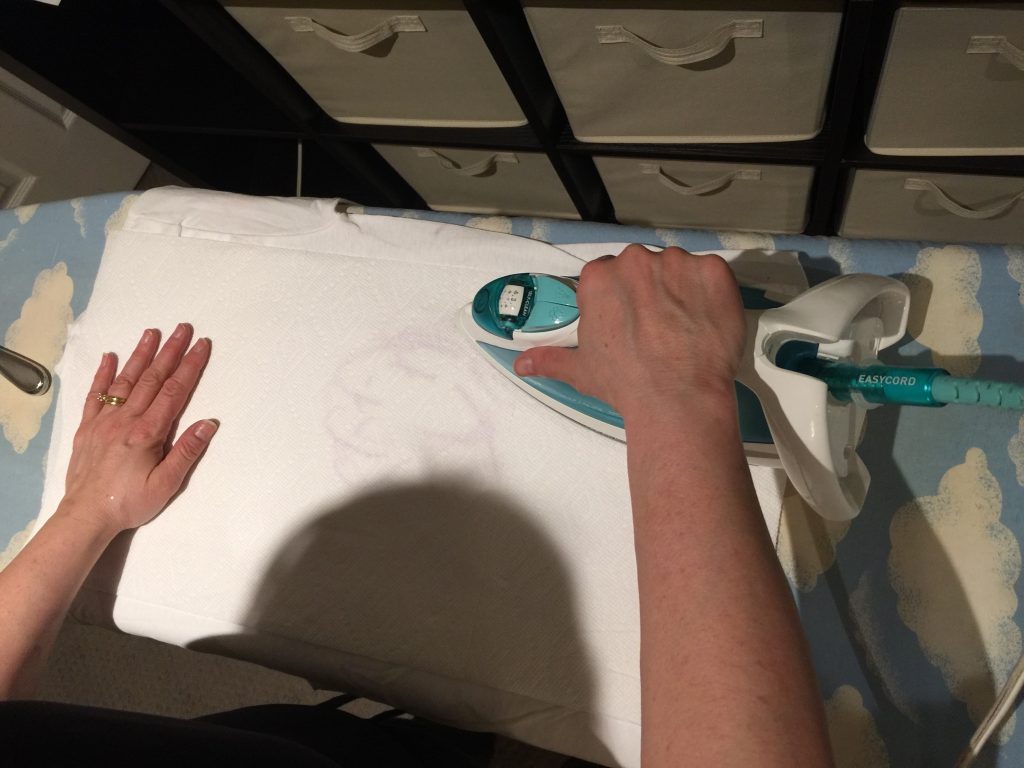
STEP 4: Keep changing paper towels until no more stain transfers
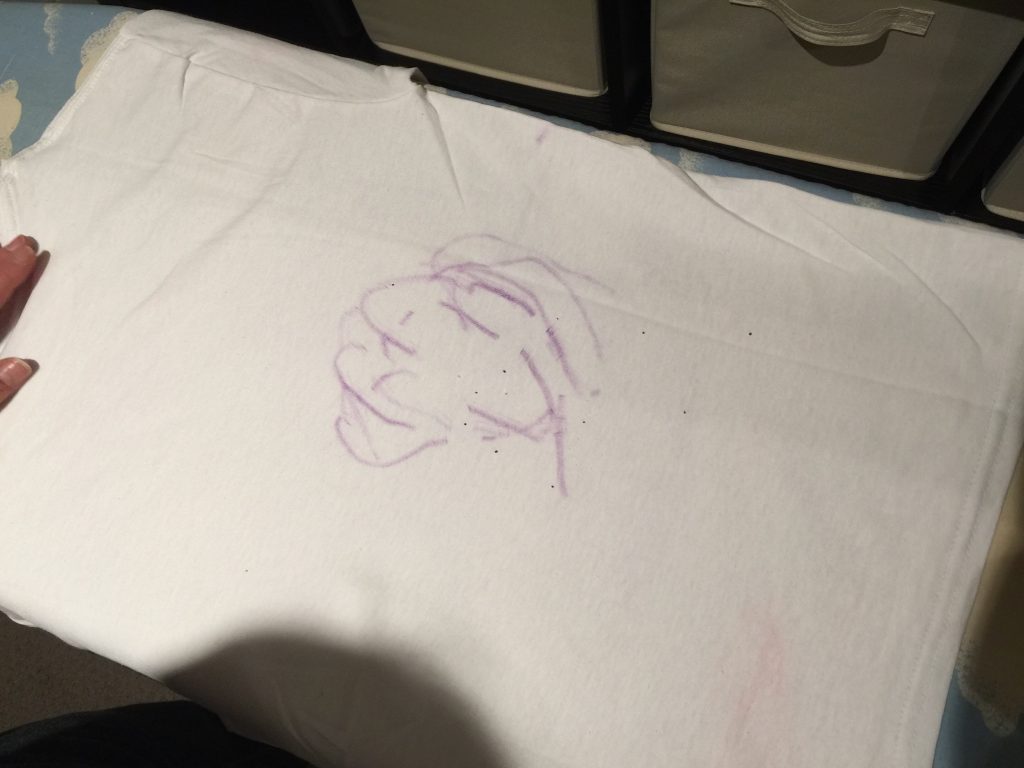
I started with the back side to see if any damage had been done:
Nothing happened. I guess it only really works when the fabric is above the paper towels…
I turned the shirt over and lifted the paper towel for the first time and…
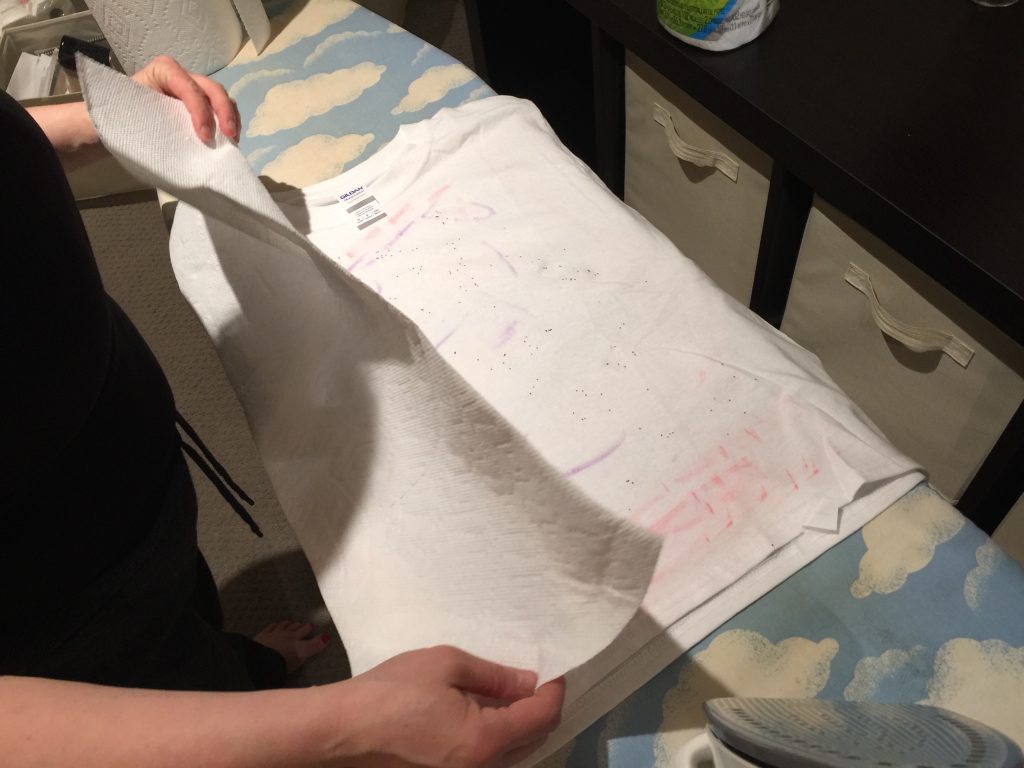
What???? Nothing transferred.
Anxiety is turning into panic. I must be doing something wrong.
I try again…and again…and again.
NOTHING.
But this is only the ironing trick…I didn’t pre-treat or wash it yet. Tide gets out 100 different stains. Surely these will come out…right? I won’t be the one whose test fails…right? and then I remember my husband who calls me an anomaly…and his theory has been proven right. Oh boy…this is not going to work.
I am 99.9 % sure that these stains will NOT all be coming out because the iron trick didn’t help (at least it didn’t seem to do anything).
I am already having a conversation in my head with my #PGmom contact about how I’m not sure why my test went wrong and how I don’t know what to do…and I’m leaving for Disney…and…and…..and…
BREATHE. What will be will be. I proceed to the next step.
STEP 5: Re-treat the stain using Tide Ultra Stain Release as a pretreatment
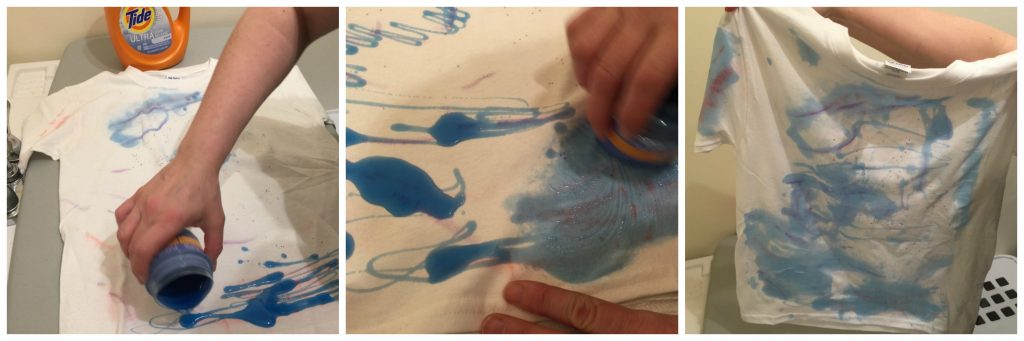
Sure… I start drizzling Tide over the stains & using the ‘scrubber cap’ to scrub the stains.
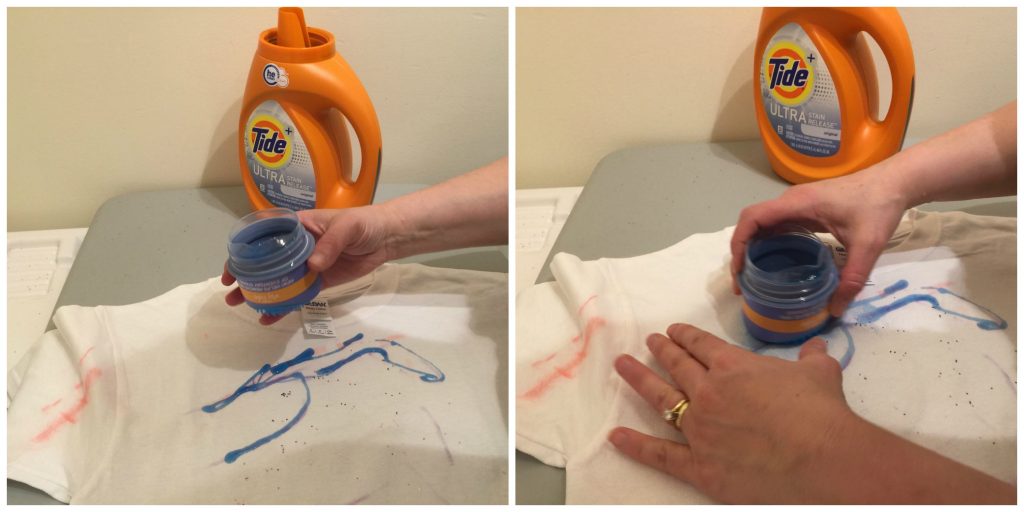
How many places did she mark up this shirt?? Breathe Tanya, Breathe.
Perhaps the voracity with which I attacked the stains is a slight indication of my stress level about this little experiment:
STEP 6: Wash garment using warm water on your regular wash cycle
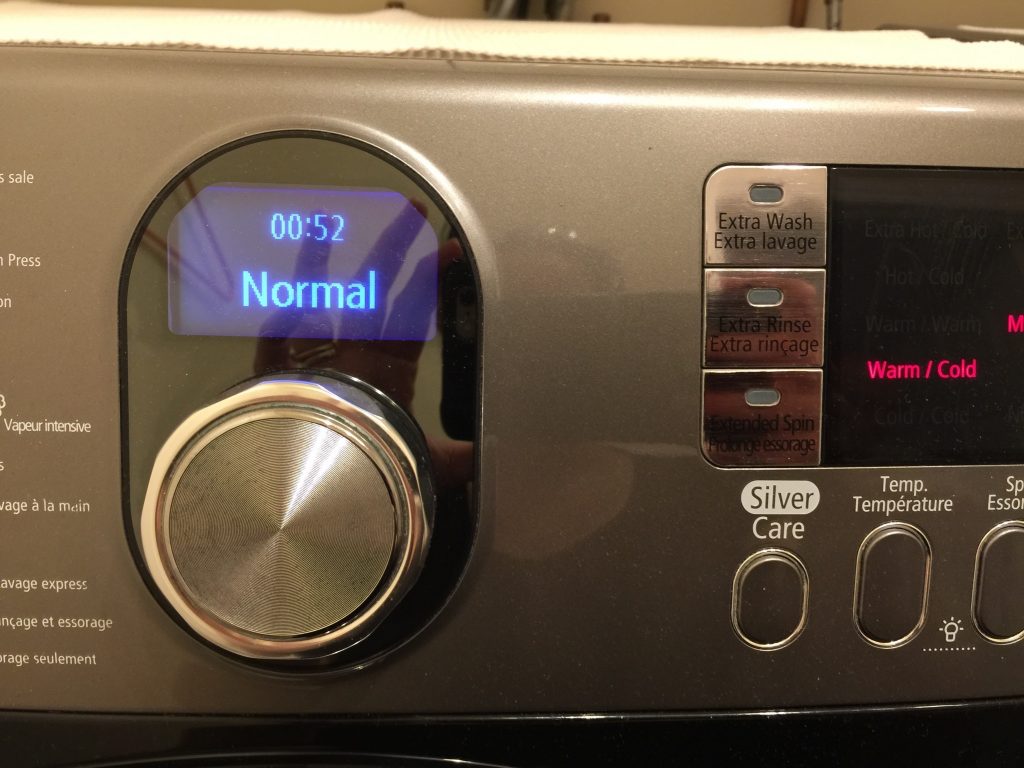
This, I can handle. Although I’m thinking that with the amount thatI used to pre-treat the stains, I may not need a full does…but I am not taking any chances. I am so nervous about these stains…
Later… while we are packing, my hubby mentions he heard the washer beep. I know but I don’t go right away. I’m actually afraid…
I go..I see some suds. Yep, I should have put less, but who cares, I can do an extra rinse cycle….More importantly what does the shirt look like?
NO. FREAKING. WAY.
And the back?
I call out to my husband- “IT WORKED!!!!!”
“No way!!” He comes running to see.
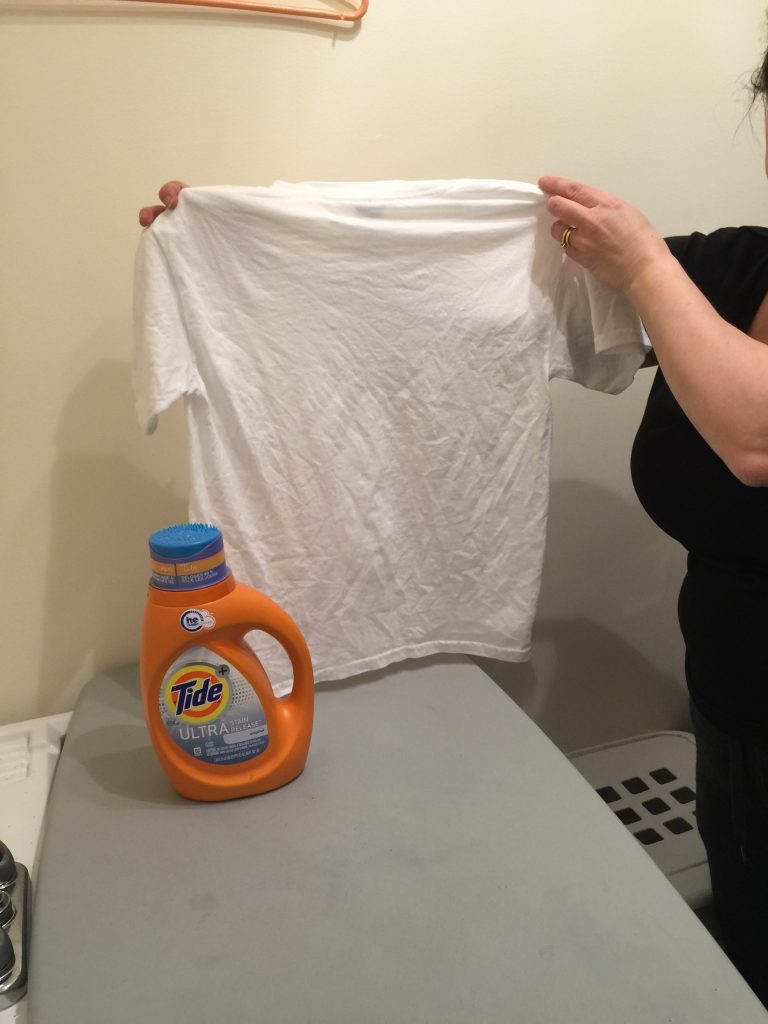
I put the shirt in for an extra rinse and once dry I took this pic:
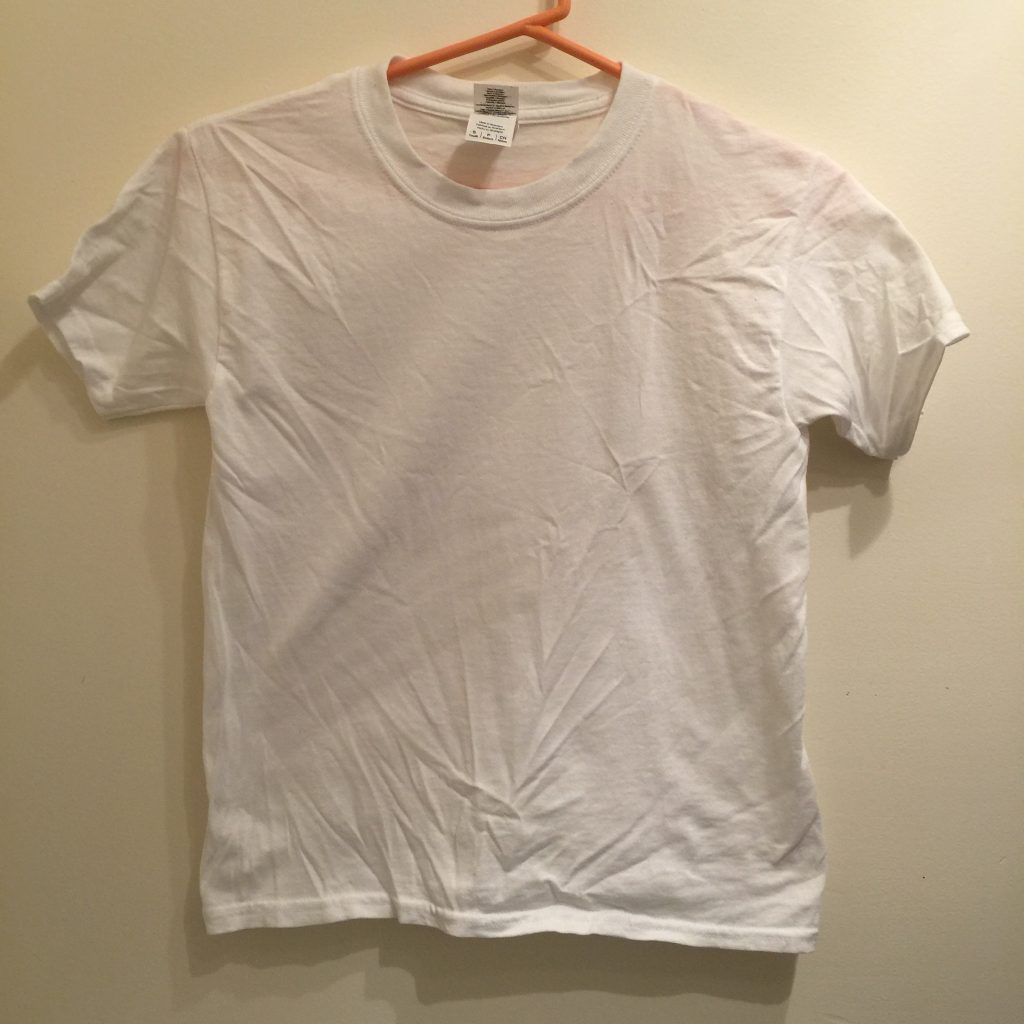
It’s a little wrinkly ( I think because it dried all by itself) but its as white as white can be!
I am BEYOND IMPRESSED.
A little worried about my stress level for my third test…but I’ll deal with that when I do the test.
Now…I must finish getting ready for the trip!!!
Wishing you a day where you achieve that which you thought was impossible 😉
Tanya
1 Comment
Great to know! My little one is so messy and I hate that his clothes always seems to be stained. I will need to give this a try.