In our home, the girls share a room & the boys share a room and bunk beds allow space for desks and other necessities.
A problem we’ve encountered is that kids on the top bunk don’t have any “nightstand storage”. You know- a place to keep a box of tissues, a book, a reading lamp, some moisturizer, glasses, etc. Another problem: Dirty tissues are either aimed at the trashbin down below & wind up on the floor or simply remian on their beds. UGH.
 I’ve envisioned a solution for a long time now but this weekend actually embarked upon & completed the project.
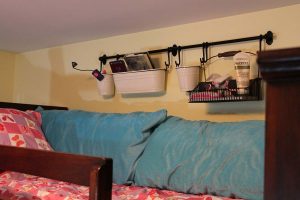
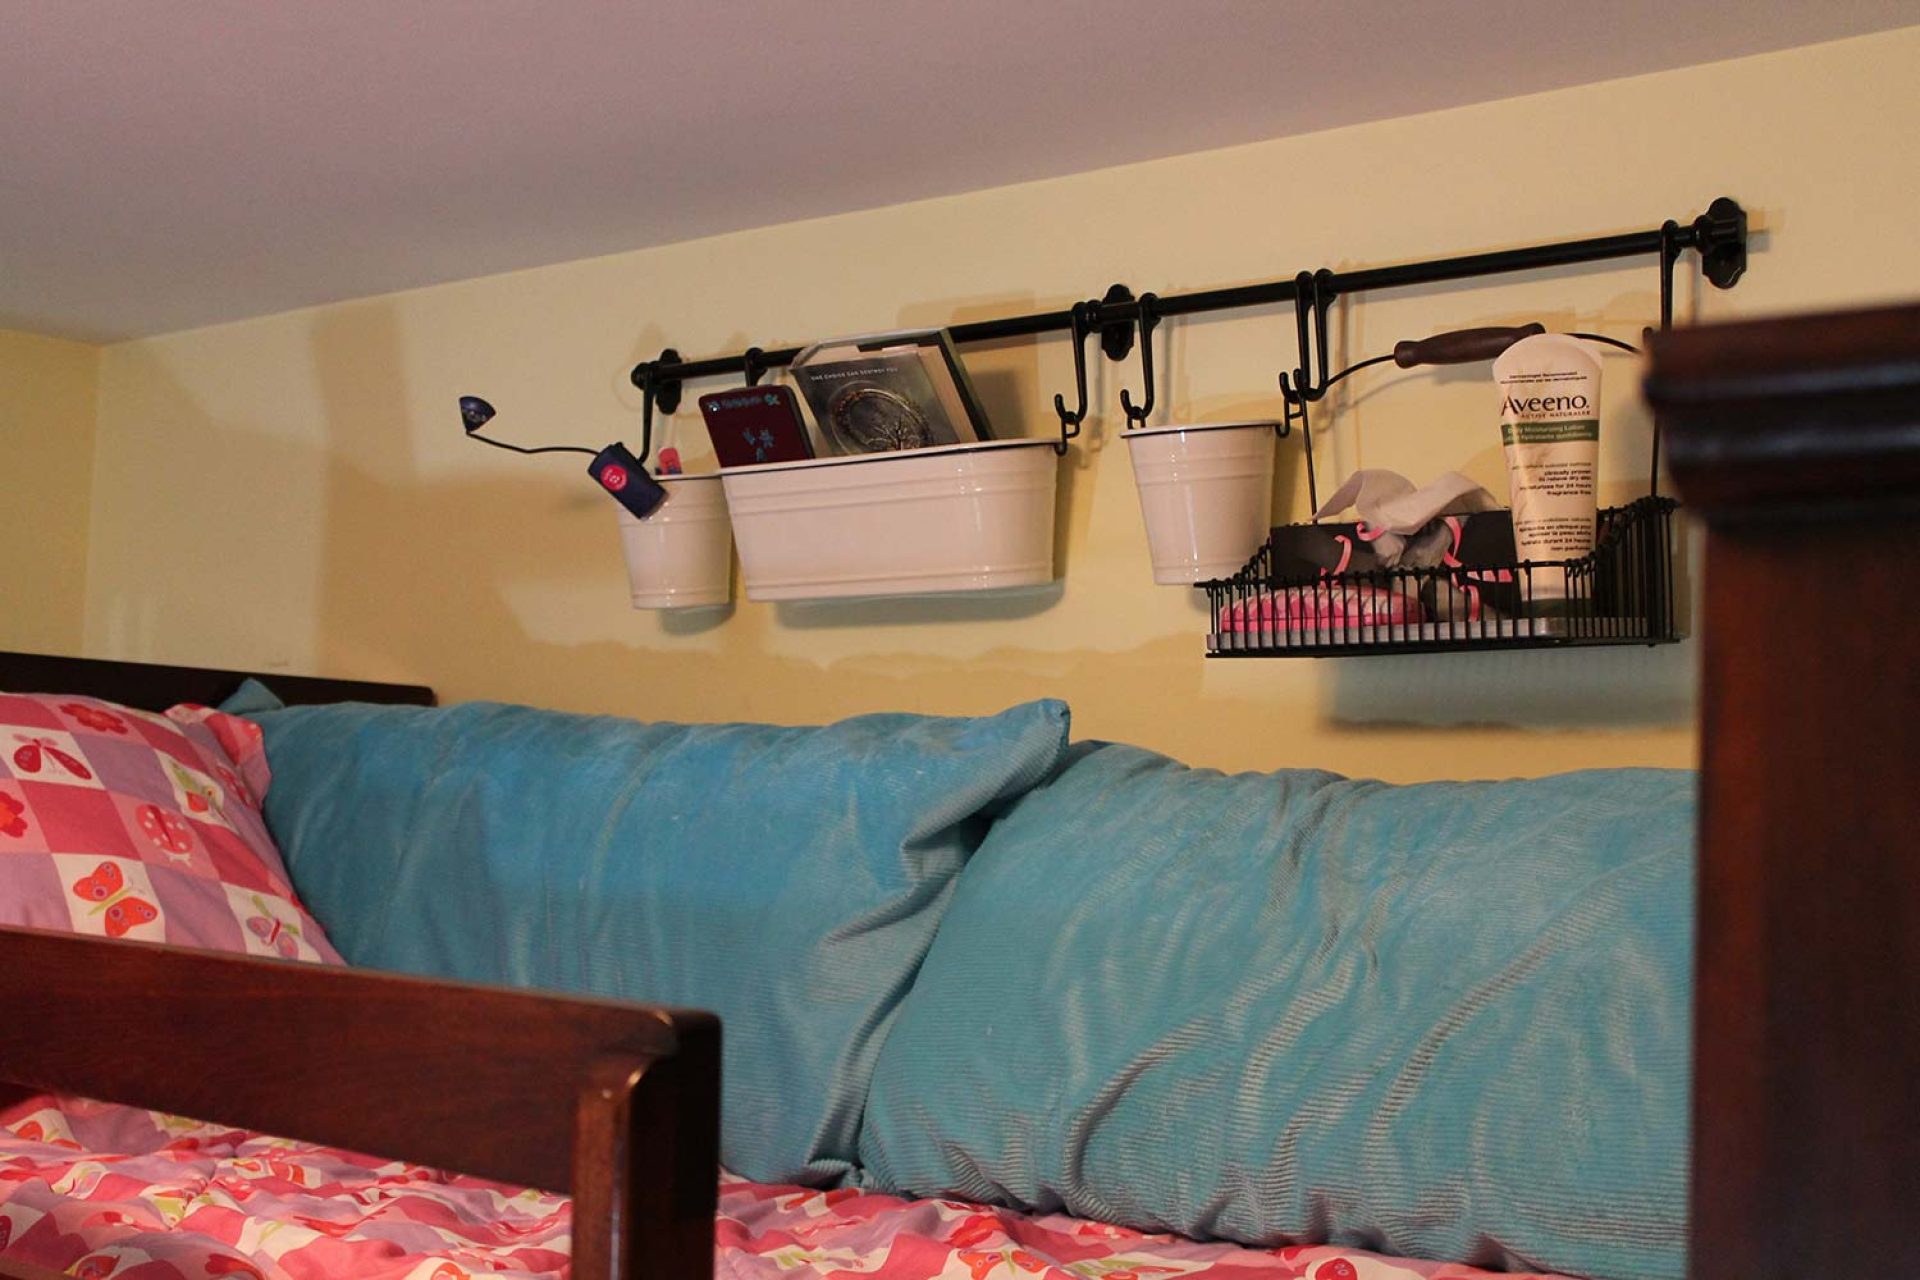
What you’re seeing is actually a kitchen rack system from IKEA (FINTORP collection) designed to hold small plants, cutlery & condiments. We analyzed the storage needs of my eldest daughter and chose these components.
The 1st of the round bins (designed to hold cutlery) contains a pen, a nail file and any small items she wishes to keep there. Her book light is clipped on so she has reading light at her fingertips.
The next, longer bin (designed for condiments) holds her Kindle as well as her latest read (yes, she still reads ‘paper’!) as well as an ipod she uses as an alarm clock.
The next in line, another round bin is her trash bin.
Finally the basket on the end houses a stainless shelf which hold her tissues, moisturizer & glasses case.
ALL SET! My daughter LOVES it!
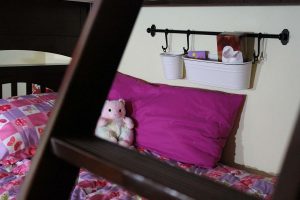
 We were so excited by the project that we installed a smaller version for my daughter on the lower bunk, as well 🙂
As for the boys, we selected a different, more “square” style for them, but IKEA was out of the components we required. I will share when theirs is complete as well. In case you’re looking- the more “square” collection is called GRUNDTAL.
There are other collections as well.
All can be found in the kitchen/wall storage section of IKEA. There are additional components / different sizes & colours to choose from.
Notes on Installation:
- Installation took time but wasn’t too difficult.
- The bar on the the upper bunk was slightly small for both the round & long bin, we resolved this by having both bins share the hook between them, rather than using 2 separate hooks.
- The bar on the upper bunk is made up of two smaller bars that are joined in the center.
- You will need your own flathead screws (& screwdriver) to attach the bar to the wall – they are not included.
- Use a level to make sure to install the bar straight.
- Remember to tighten the bar into the wall brackets using the tiny key included in the set.
I’d love to hear from any of you who try it!
Have a wonderful & organized day!
Tanya


4 Comments
Great Idea! I’ve been thinking of this system to create a home planning area in my kitchen for the homework, the pens, paper, all that stuff that just seems to be everywhere along with school bags! You know 4 kids is really all about organization. 🙂
That is a pretty cool idea. I have been puzzled how to get anything on top of the bunk bed. Thank you for the solution. Reaching your blog through social fabric and happy to learn about a new blog in our community
Hi Lena! Thanks for the feedback. I haven’t even had a moment to immerse myself properly into the social fabric community- I am so looking forward to doing that & am hoping to do so this week!
This is a great idea! Thinking about doing it for my two on top bunks. Where did you get the basket at the end?